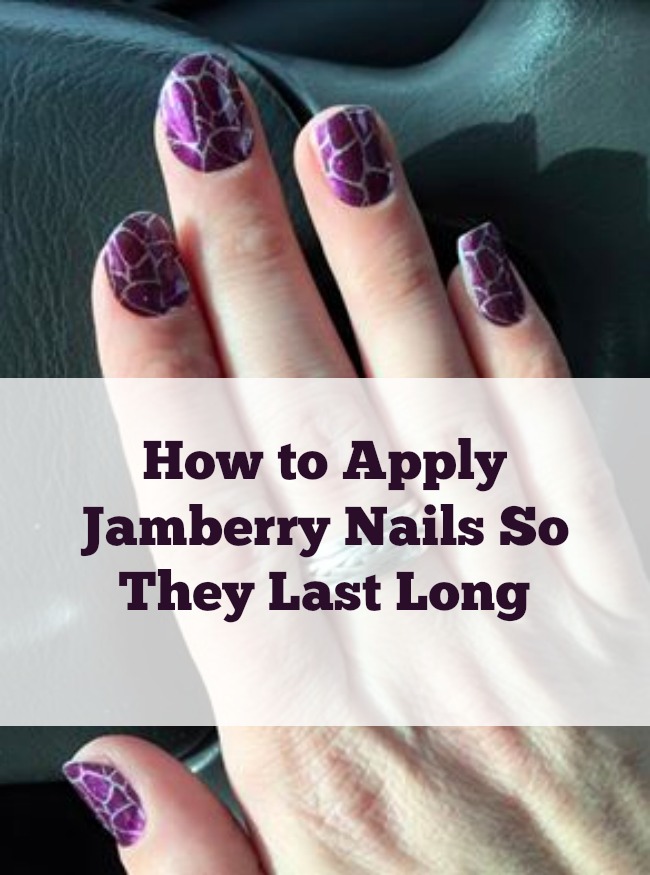
I love Jamberry nails, and when I’m spending money on a manicure of any kind I want to make it last. It’s important to me to get my money’s worth out of my investment. I recently discovered this method for applying Jamberry nails that helps them last longer. Check out my story about how I fell in love with Jamberry nails!
I love Jamberry nails because I wear contacts, and I’m a teacher, so traditional paint doesn’t work very well for me. The amount of time that they last is what I really appreciate about Jamberry nails. I’ve also been able to get two applications out of one sheet. I have also used them on my toes as well.
How to Apply Jamberry Nails
- Make sure you don’t touch the wrap with your fingers. The oil is not good for them.
- Wipe your nail off with an alcohol wipe, and then buff your nails.
- Gently take the wrap off the sheet with a wooden stick.
- Blow it with a hair dryer on both sides for five seconds on each side.
- Place the curved end at the back of your nail.
- Trim the excess with your scissors or with nail clippers.
- You will still have some excess wrap on your nail.
- Take a baggie and place your nail in the bag over the end of your nail and blow dry the end of your nail again for 3-5 seconds.
- Remove from baggie and file straight down to remove any leftover excess.
- Make sure that the wrap is firmly in place and smoothed.
- Dry one more time for a few seconds.
- Remove from baggie and make sure that they are smoothed down as much as possible.
Check out our video below to see how to apply Jamberry nails and have them last longer.


Leave a Reply