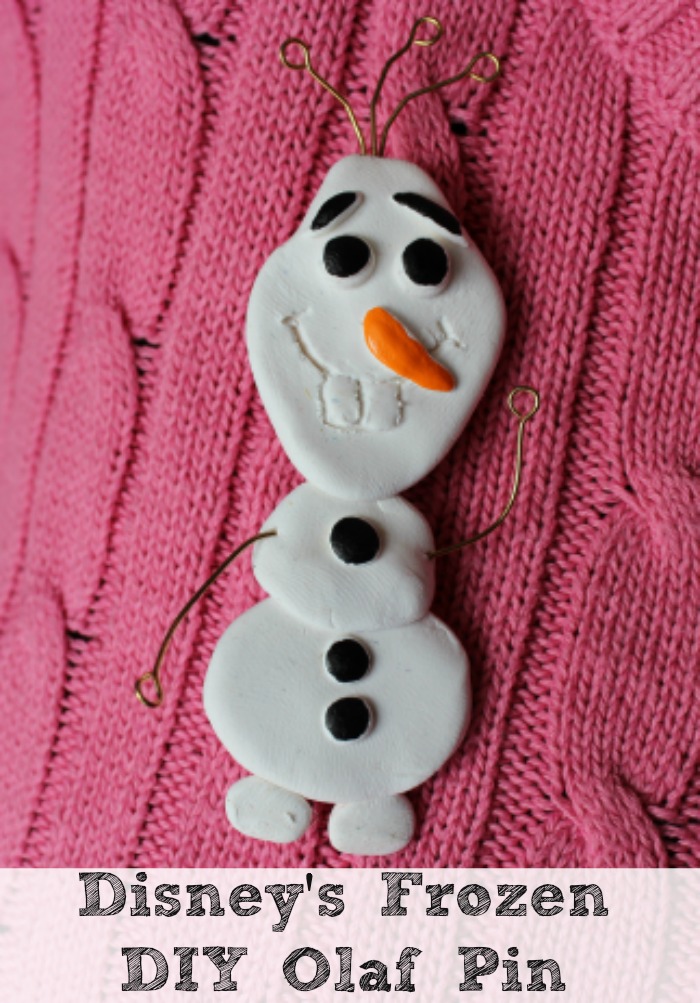
 The other day we posted a ton of Disney’s “Frozen” FREE Coloring Pages and told you we had some neat Frozen crafts coming! Here is our first one, and I’m so excited to show you our DIY Olaf Pin! The original idea came from Disney’s own Spoonful Website! The total cost of this project was about $3.77, but we already had a few of the items needed. Plus, we read the whole post and watch our HOW TO VIDEO!!
Supplies:
- white polymer clay ($1.77 at Hobby Lobby with 40% off coupon)
- black, white, and orange acrylic paint or paint pens (the next several supplies we already had at home)
- (1) craft stick
- (1) wooden skewer
- pin back (This can be found in the jewelry department of any craft store.) ($1.99)
- Cooper craft wire
- parchment paper
- hot glue gun
- Olaf Template (from Spoonful)
- Total Cost for us was around $3.77
Directions:
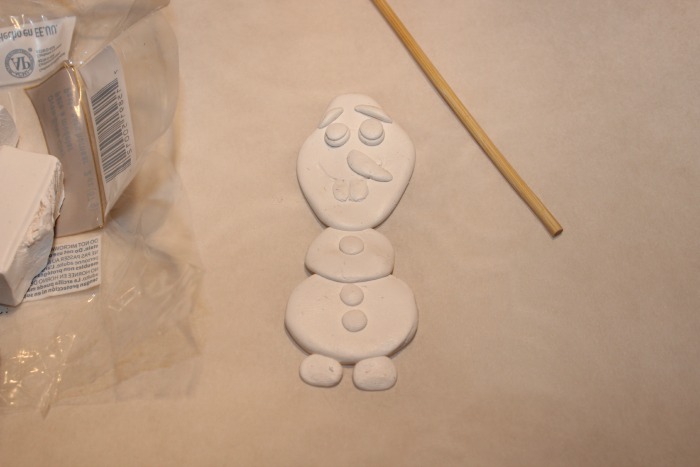
1. You can either use the template (link above) or you can form your pieces freehand. You will need to form the three body parts, eyes, eyebrows, nose, teeth, feet, and buttons.
2. Make small indentations with the wooden skewer where you will place the eyes, teeth, and buttons. If you don’t, these parts will stick up too far.
3. Using the sharp end of the skewer, make a mouth.
4. Overlap three body parts and feet and gently press together.
5. Arrange all the parts into place.
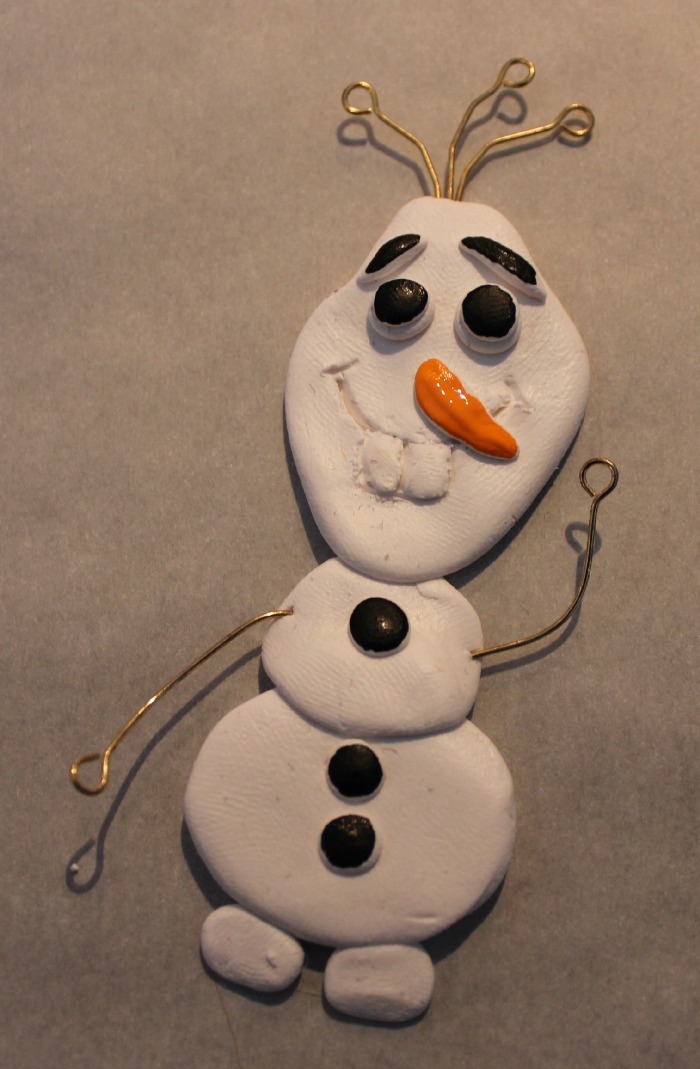
6. Once you’ve arranged all the parts, you can paint the eyes, knows, buttons, and eyebrows.
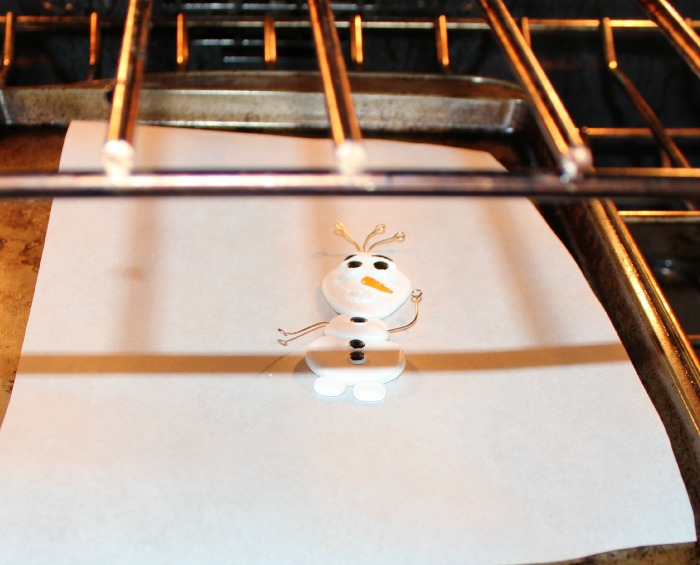
7. We also added our arms and hair before we baked him! The paint was also on before we painted him as well! Poor Olaf! He really wants to know what summer is like, and you can see him melting below! LOL While he’s baking, break the craft stick in half and paint it white.
8. Bake at 300 degrees for about 20 minutes.
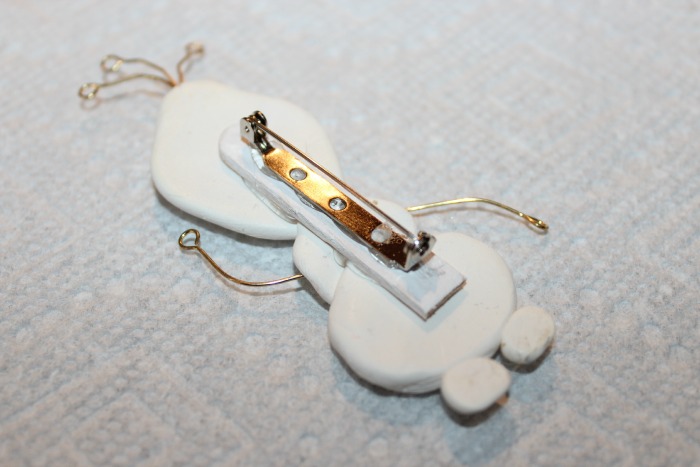
9. Once he’s done baking and cooled, hot glue the pin backer to the craft stick, and then hot glue those two parts to Olaf’s back!
10. Once he’s dried, you can secure the arms and hair with a small amount of hot glue! Voila! Your adorable craft is completed.

Leave a Reply