This is a frugal way to do tie dye. I came across this concept on Pintrest, but I had to do something completely different, since I am never satisfied with the just the plain ordinary craft I find. I am always asking myself “How can I make this better?” By better I mean cheaper, easier or more fun. This is a fun craft I choose to do, since I was watching someones kids for the afternoon. I needed some entertainment. So here is what I came up with to do on an afternoon with four kids all different ages…
This is a great project, since sharpies are on sale at Staples for $5.00 for a 12 pack right now. It is back to school time so there are sales everywhere. I think I got my set of 10 last year for under $5.00 at Staples. I picked up the plain white t-shirts for every one of the kids at Michaels last week for $2.00 a t-shirt. These are perfect for Tye Dye t-shirts and I love a bargain.
Directions for Sharpie Tie-Dye T-Shirts:
We started with the plain, boring white t-shirts I purchased from Michaels. Put some paper, magazines or cardboard between the shirt. This is to prevent the sharpies from bleeding through the front part to the back, unless that is the design you want. Then just make sure you put something under the shirt to prevent it ruining your carpet or table. I didn’t care what mess the kids made with sharpies. I didn’t even care they forgot to put the lids back on, since we were ripping out the carpet that week anyway. Very stress free for me. If you see my previous post carpet is now gone! Yippee.
Next draw any design you wish. I just let the kids draw with the sharpies whatever tie dye design they wanted. They loved using their creative freedom. You don’t want to be really detailed, since in the next step all the colors will bleed together to create a tie dye effect. This is where we had lots of fun coming up with different tie dye designs.
After you have created your design then the fun part starts. Take a squirt bottle and filled it with rubbing alcohol. I would then recommend taking this outside. Liberally spray the front of the shirt with alcohol. The colors will bleed as soon as you start to spray. We found red, orange and black run the best.
Let the front dry and then spray the back. These dry fast outside and since it is alcohol.
Design possibilities for Frugal Tie-Dye T-Shirts:
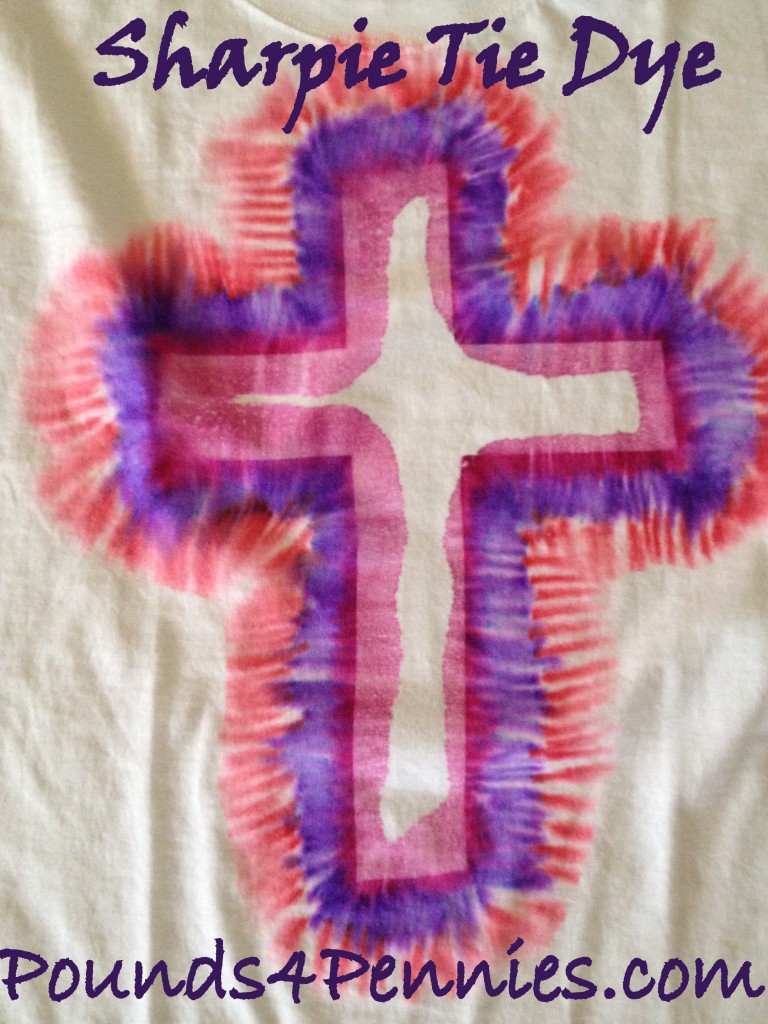
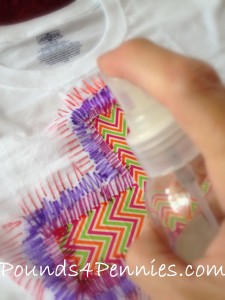
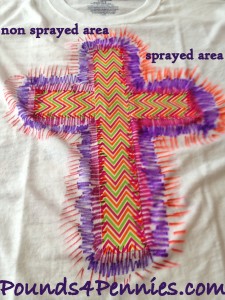
I used duct tape (the duct tape is zig zagged) to create a cross that had a negative area then colored around the duct tape. I just used squiggles. I sprayed the alcohol around the duct tape and let it dry. Then I removed the duct tape. I was surprised it bled under the duct tape, but it came out really cool.
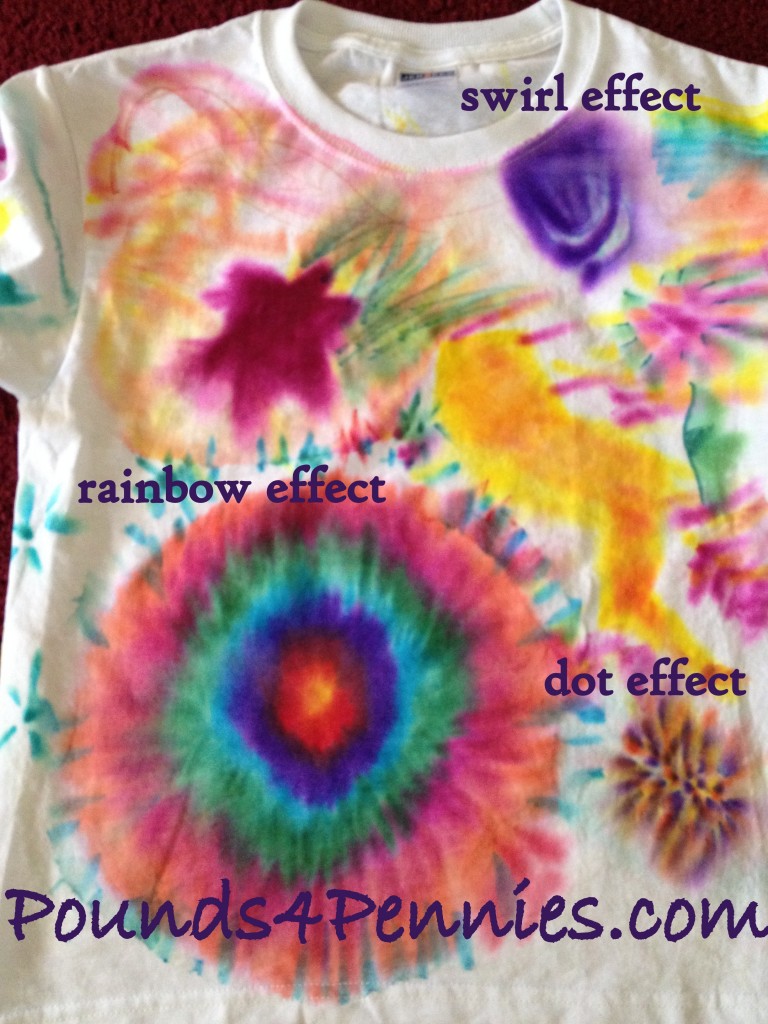
Here are the designs we created. Now my mind is reeling thinking of all the other possibilities that can be done with this great tie dye style. You have so much more control of how the design of your tie dye t-shirt turns out.
Amy Greene of Pounds4Pennies lives in Texas with her husband and blended family of three kids, two who are 10 and a 2 year old. Amy has been a frugal shopper for years. She enjoys couponing, cooking and crafts.


Gotta try this!!
Please let me know if you do try this Holly. This was a lot of fun!