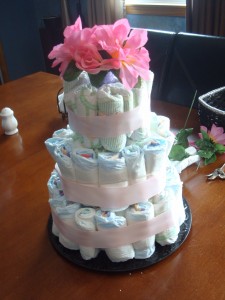
 Today we are going to learn how to make a Diaper Cake! Yes, you read that correctly! A Diaper Cake is a unique baby shower decoration or gift. As you can see from the picture, it includes many rolled up diapers that are secured around two 8oz. baby bottles. I am also including a TRAINING VIDEO to see exactly how it was made.
You can either skip to the Diaper Cake Training Video, or you can continue to read the instructions if you can’t get You Tube.
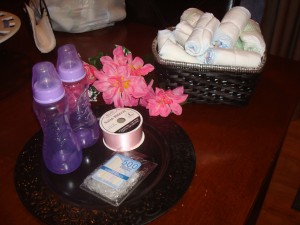
First, you will need to collect your supplies which include:
- (2) 8oz. baby bottles (Dollar Tree- $2.00 total)
- 4 yds. of ribbon (Dollar Tree for $1.00)
- satin/fake flowers for the cake topper (Dollar Tree – $2.00 Total)
- clear tiny hair rubber bands (I purchased a pack of 500 at the Dollar Tree for $1.00
- 70+ Diapers (Used my CVS Diaper Deals to score two packs for about $9.00 total). I also recommend at least a size two, because the smaller the diaper, the harder they are to roll, but you also don’t want 4’s or 5’s, because the baby won’t be able to wear them for awhile!
- 10 or so large rubber bands (newspaper rubber bands are the perfect size for the outer layer on the bottom. You can use regular large rubber bands for the others.
- Some sort of base for the cake. This can be a large 13′ in round plate, or a cardboard cake base, etc. I bought a plate at Michael’s for $0.60!
- Double Sided Tape, or something to secure the ribbon. I used sticky dots for scrapbooking.
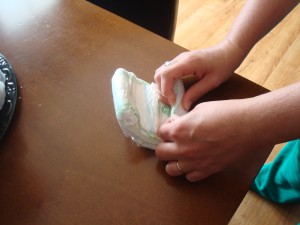
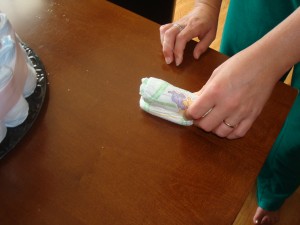
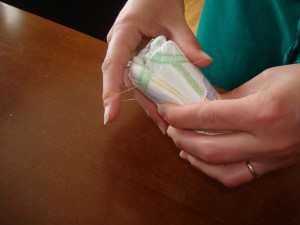
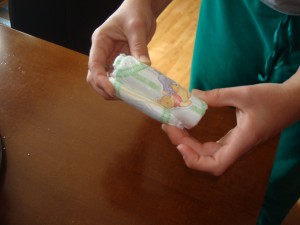
Once you have all your supplies, you can begin to roll your diapers using the clear hair bands. You will start at the top of the diaper and roll down to the bottom:
Roll completely from one end to the other, and then place your rubber band around the rolled diaper in the middle.
Once you have rolled all your diapers, you are ready to assemble the cake! First, you will need to place the 8oz. baby bottle in the center. You will then take one of your large rubber bands and place it around the bottle. Begin to place rolled diapers inside the rubber bands. Make one tight layer around the outside of the bottle.
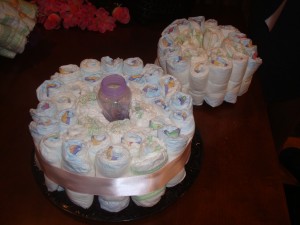 Once you’ve secured the first layer, you will need to start a second layer. So, take a large rubber band, and place it around all the diapers in the first layer, and begin to place a second layer of diapers inside the second rubber band. The third layer is done in the same fashion, and this is where a newspaper rubber band comes in handy. However, we happened to have a really large rubber band. The second tier of the cake is done the same exact way, only you only complete two outer layers. Secure the second layer as best as possible around the top of the bottle that is sticking out of the first layer. Then, you can place the second bottle inside the second layer once it’s stable enough to do so. The third layer is created in the same fashion around the second bottle, except you only complete one layer.
Once all your diaper levels are completed, you can secure your ribbon around the outside. Try to ensure that the ribbon goes around the middle of the layer, and that it covers up the rubber band! On the bottom level, I did secure the bottom layer with an extra string in addition to the rubber bands. Secure your ribbon with the double sided tape (or whatever adhesive you decide to use). Finally, the open baby bottle at the top provides a PERFECT place to put your silk flowers! Arrange as desired!
Voila! You have made your first diaper cake!


wow so cute! Thanks for the tutorial! You have a great blog! I am visiting from the blog hop! I am your newest follower and would love it if you would follow me back too! Thanks so much!
-Nikki
http://chef-n-training.blogspot.com/
You have such awesome / beautiful / unique / etc….. THANKS so much for sharing your gift !!!!!!
Thanks ladies!
@Nikki! I will definitely follow back! 🙂