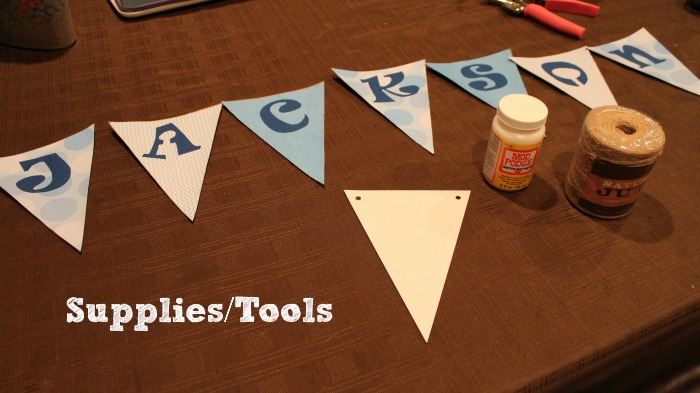
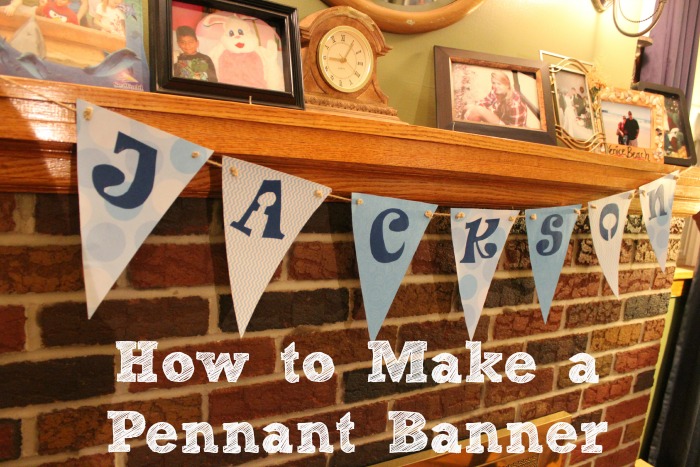
I am so excited to show you this paper pennant banner I made for my son’s shower (Yes, I know, I shouldn’t be helping to decorate, but these were just too cute!). The best part is that these are really inexpensive to make! I was able to snag all my supplies from Hobby Lobby and used two 40% off coupons! Check out our How-To Video below too!
Supplies:
- Jute (It’s like twine), $5.00
- Chip board template, $3.99
- Mod Podge, $4.99 (and I already had the brush to use with this)
- (3) 8×12 patterned pieces of scrapbook paper (I purchased 2 of each for a total of 6 patterned papers featuring 3 designs) at 50% off
- 2 solid cardstock pieces of paper (same size as patterned) for letters at 50% off
- Letter Templates, $5.99 (40% off mobile coupon, making it $3.59)
- Paper Bag Cardstock, $2.50 (On sale for 50% off, marked down from $5.00)!
- hole punch, some sort of cutting system (I used my original Creative Memories cutting tools, but you can also use whatever paper cutting tools you choose).
- scissors
- pencil/sharpie marker to trace stencils and patterns
Directions:
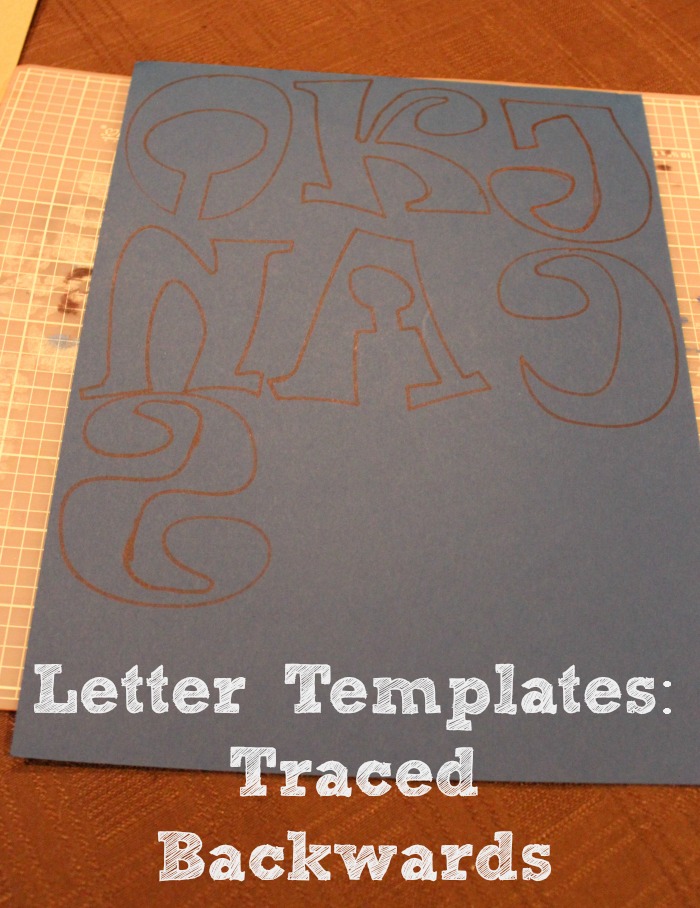
1. First, I traced the letters for my son’s name backwards, so when I cut them out by hand, the marker I used for tracing didn’t show. I used the Sharpie marker to trace the letters because the paper was so dark, I didn’t think I would be able to see pencil.
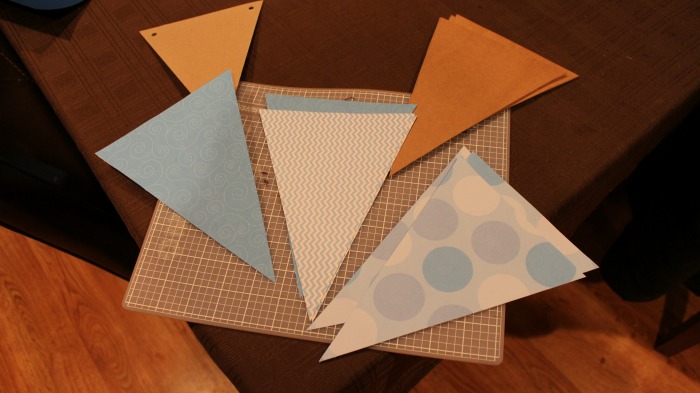
2. Then I took the chipboard template and traced 2 triangles onto the back of each of the design sheets, so I had enough pennants to spell “JACKSON.”
3. I then traced the paper bag looking card stock with the same number of triangles to use as backers.
4. I then used my cutting tools to cut out all of the triangles.
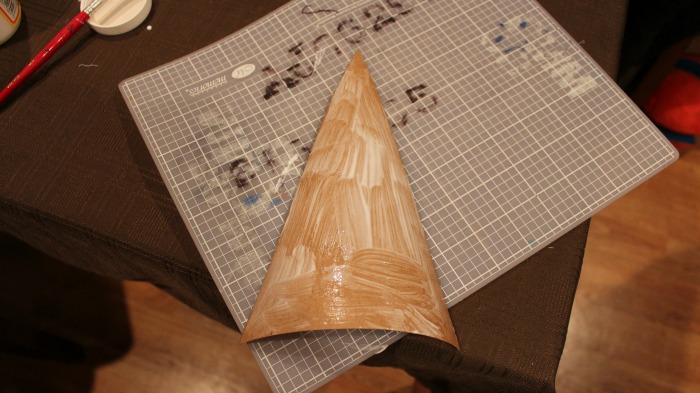
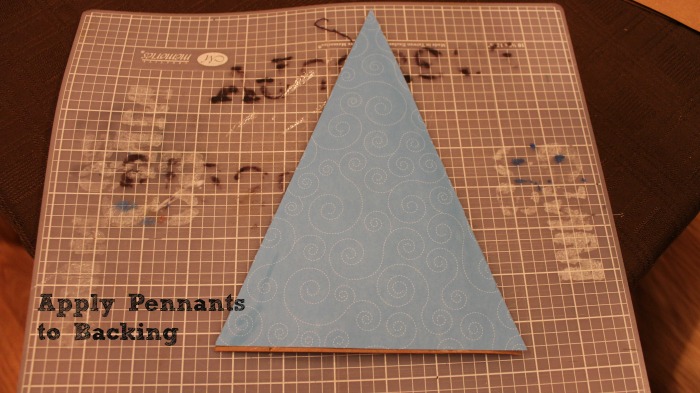
5. Next I applied Mod Podge to the design triangles and glued them to the cardstock backers.
6. I had to carefully line up all the paper with the backers, and there were still some edges that I had to trim once they dried. However, this is to be expected!
7. I then used Mod Podge to glue on the letters and then put all the pennants under heavy books overnight so they would dry flat. Otherwise, the ends were trying to curl.
8. Next, I used the chip board template holes to mark where I would place the hole punches.
9. Then I used the jute to string the banner together. I decided to place a knot at each hole punch, and then strung about 1 inch in between each pennant.
10. Once the stringing was completed, I had this awesome banner for my shower that I will then use in his bedroom!
Check out our DIY/Frugal Posts!
DIY Baby Wipes
DIY Ice Melt (Safe For Pets)
Hydrogen Peroxide Miracle Cleaner
Homemade Laundry Detergent
Homemade Fabric Softener Crystals
Hydrogen Peroxide & Dawn Miracle Cleaner
DIY Homemade Window Cleaner
DIY Homemade Fabric Softener
DIY Homemade Febreeze Spray
DIY Foaming Hand Soap
How to Reuse Your Swiffer Wet Jet Bottle
How to Reuse Your Windex Touch-Up Pump
Organize Your Home in 30 Minutes or Less: 35 Days to an Organized Home
FREE Bathtub Toy Scoop
Homemade Ice Pack


Leave a Reply